Your Book’s Appearance and Theme
Your books appearance and theme settings may be found in the Appearance area of the left sidebar.
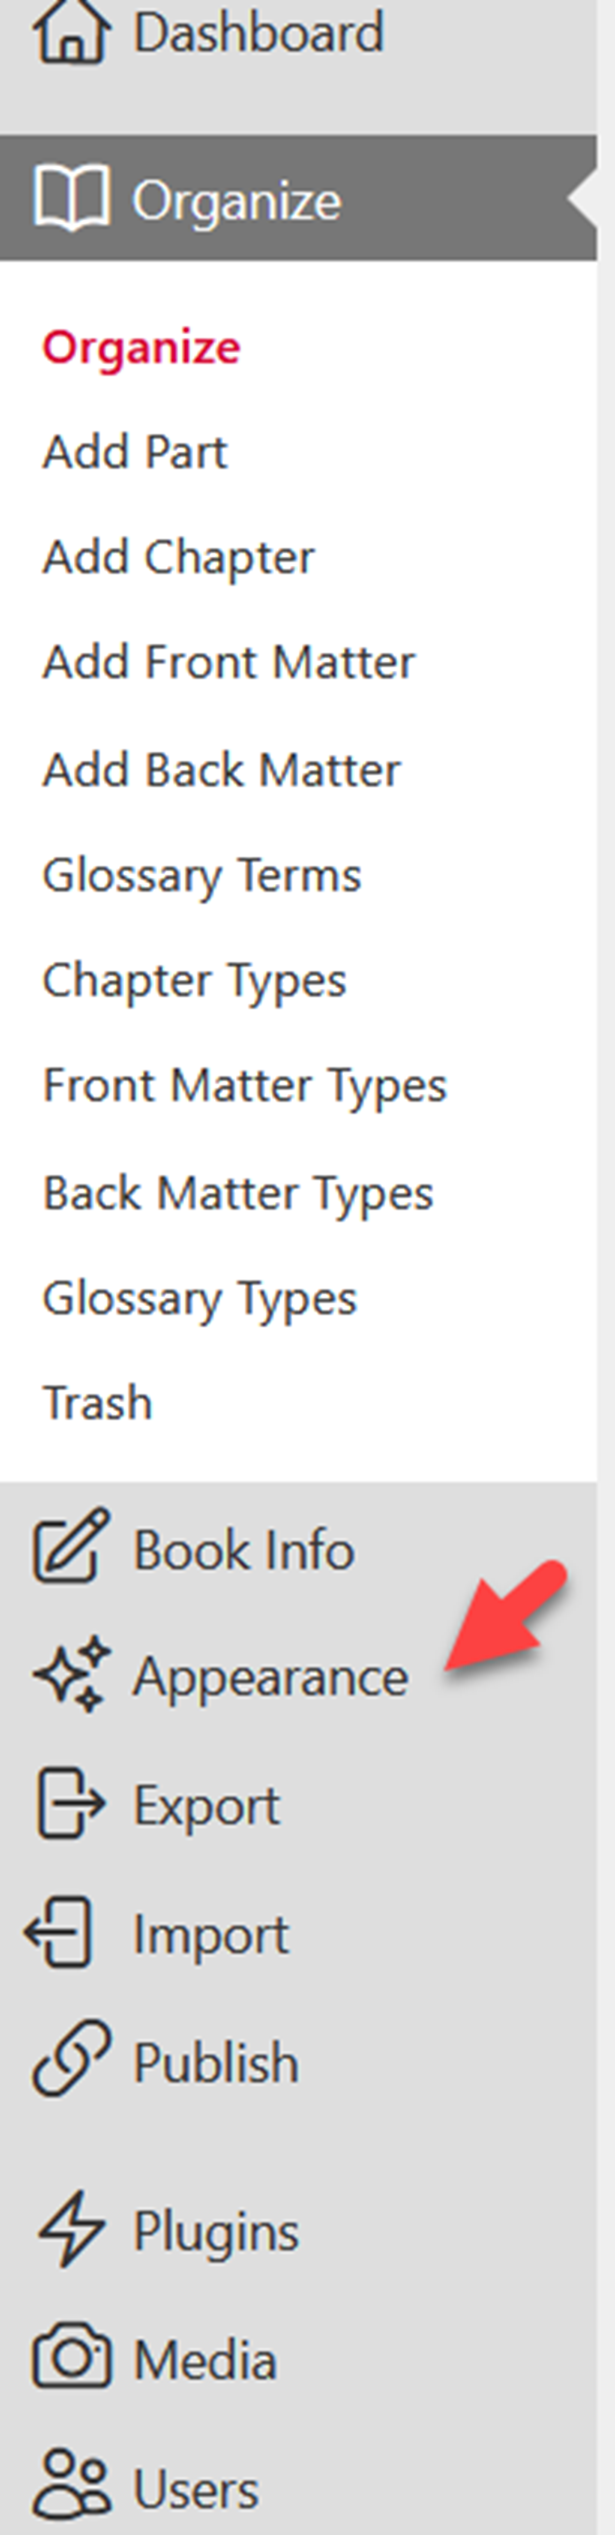
Appearance is located under Book info and helps you control the look and publishing theme of your book.
Themes
Themes are the base of the design for your book. The elements directly impacted by your choice in theme include but are not limited to:
- Chapter title designs
- Running content
- Fonts
- Heading styles
- Pullquotes
- Textboxes
- Blockquotes
- Title page layout
- Copyright page layout
- Table of contents layout
There are many other elements that you can customize within any theme. The theme you choose sets the tone of the design for the entire book, and will apply to every supported file format you choose to publish, including EPUB, MOBI, PDF, and webbook. The design will look as similar as possible across all formats.
Which Theme should I pick?
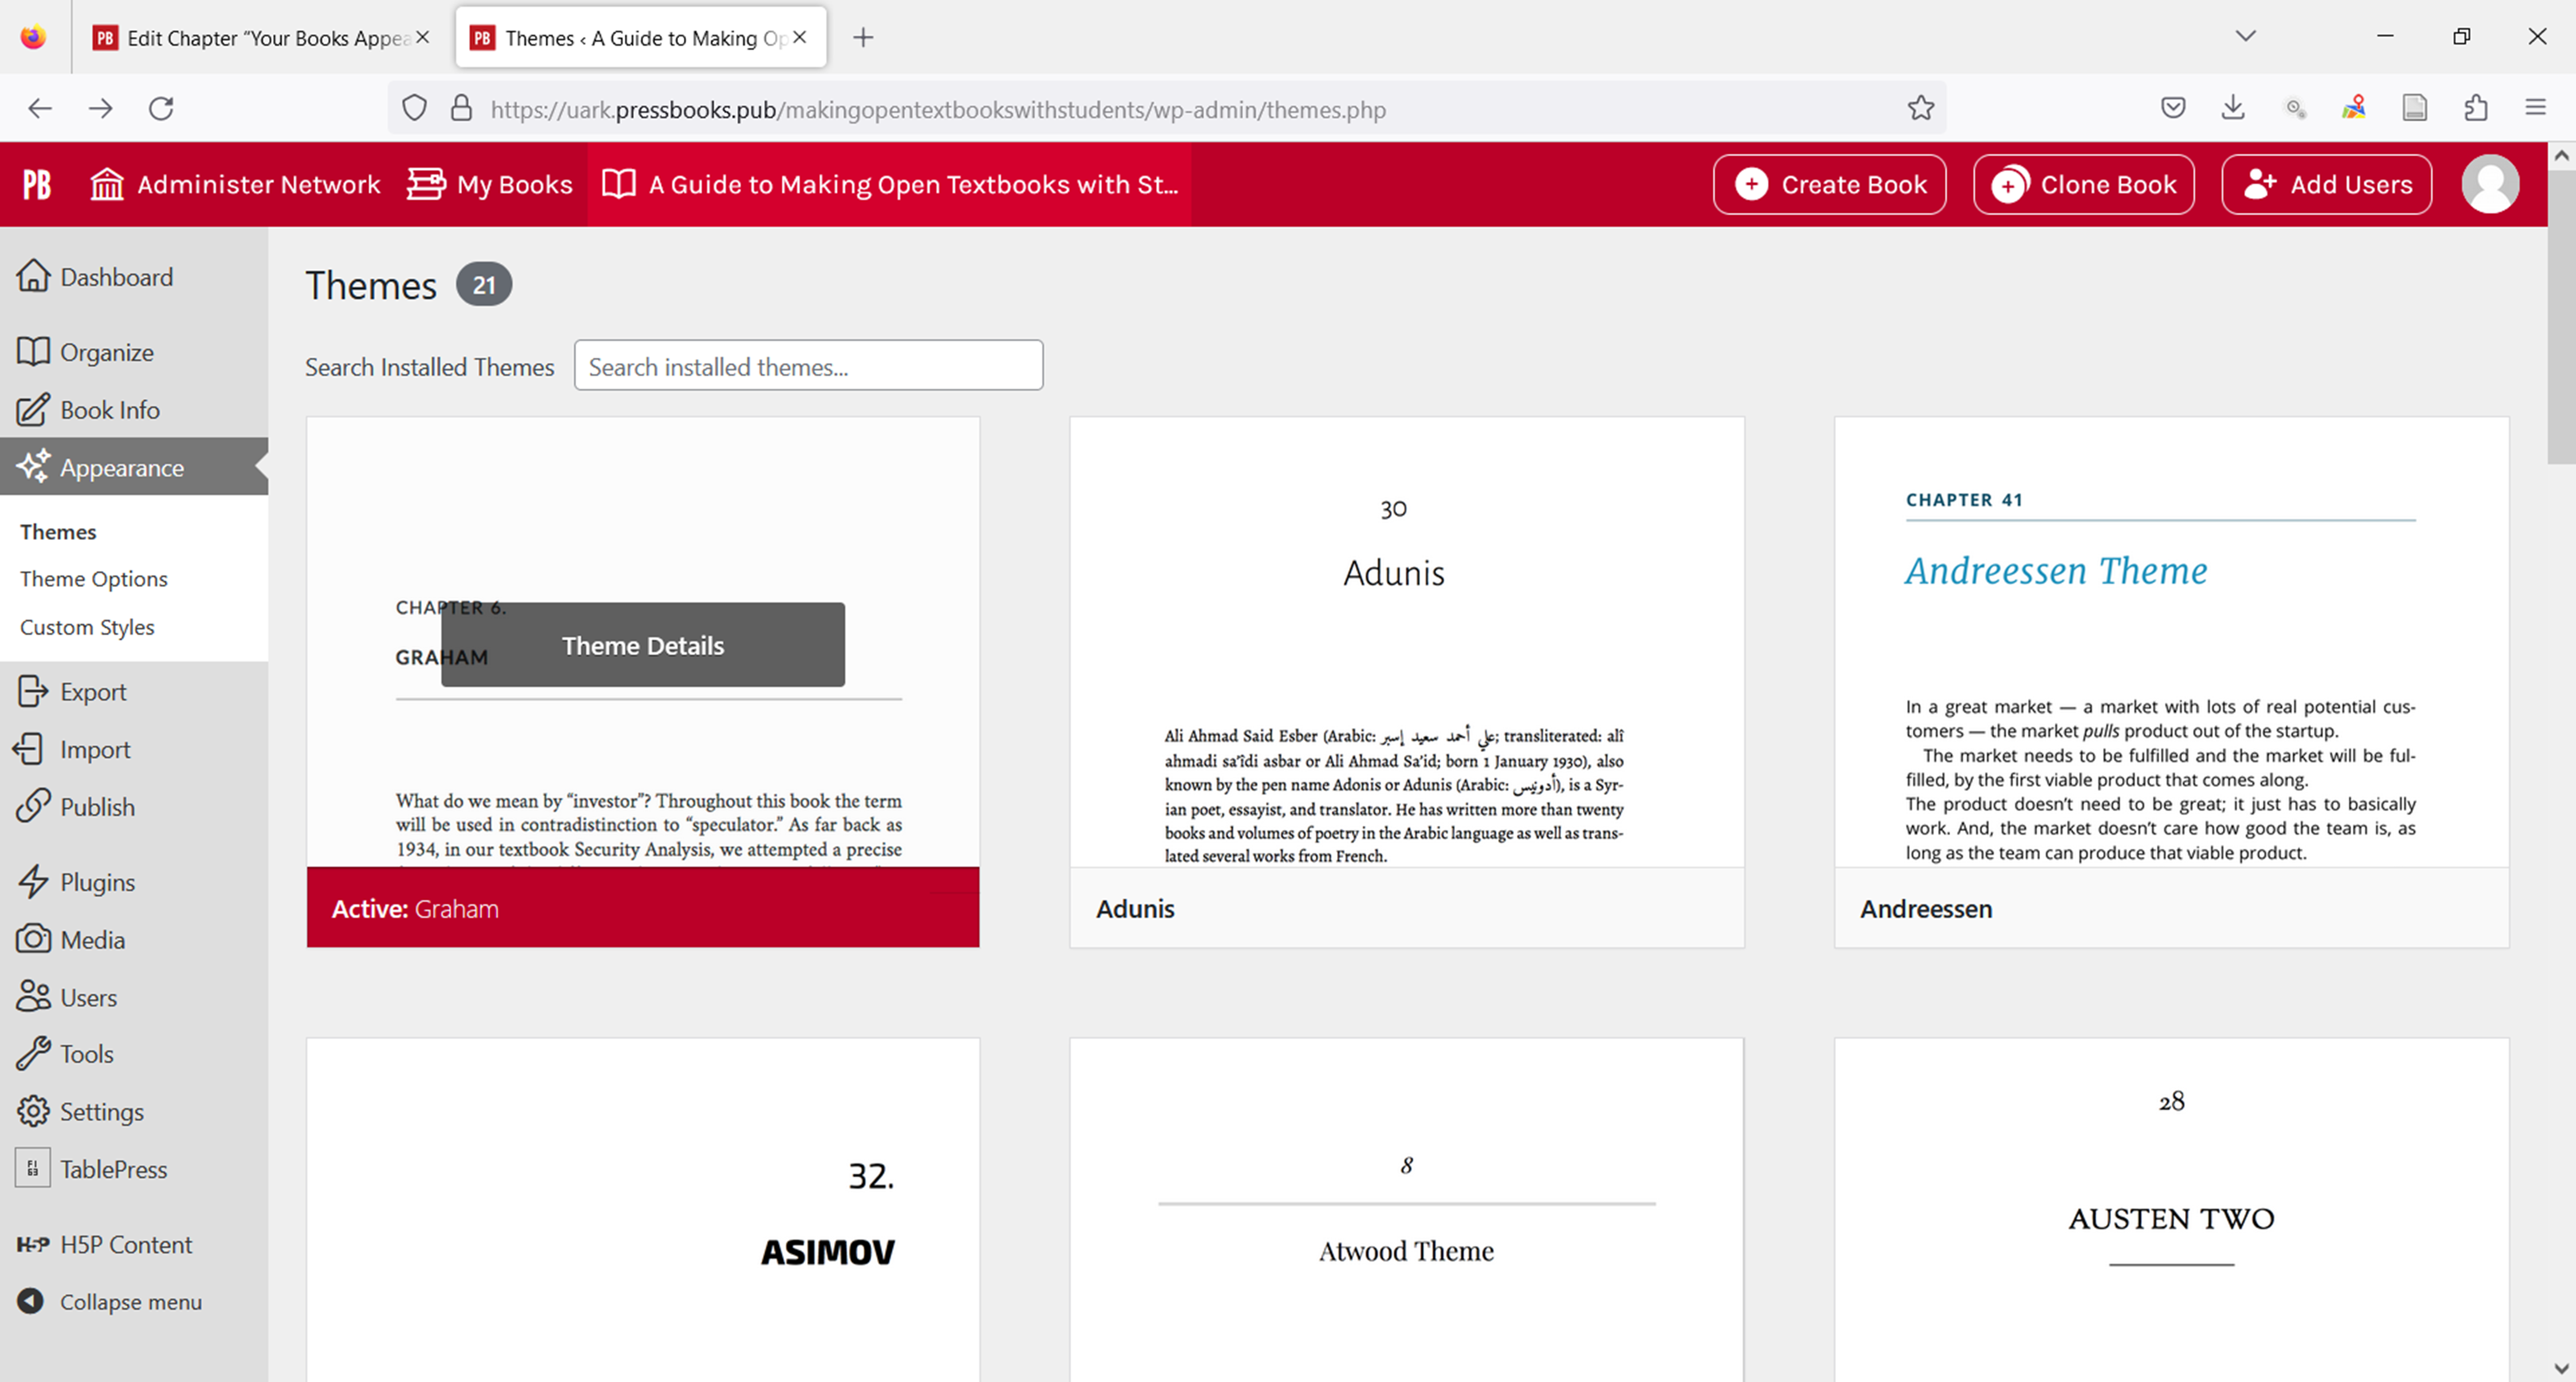
Pressbooks offers over 20 themes. You can access your theme choices by going to Appearance > Themes from the left sidebar menu of your book’s dashboard.
Many themes have been built with academic uses in mind. While some are more “textbooky” any can be used. We have an astronomy textbook that uses Asimov!
Themes by common use.
Many themes have been built with academic uses in mind:
Textbooks
- Andreesen
- Bradbury
- Clarke
- Donham
- Graham
- Jacobs
- Lewis
- McLuhan
Monographs
- Asimov
- Baker
- Bradbury
- Clarke
- Dillard
- Graham
- Luther
- Lewis
How to Change a Theme
When you first create a book, a theme will already have been applied to the book. The University of Arkansas’ default theme is McLuhan. You can change your book’s theme by following these steps:
- Go to Appearance > Themes from the left sidebar menu in Pressbooks
- Hover over any of the 20 themes on the Themes page. As you hover, you will see theme details
- To make that theme yours, Click Activate
The Theme page will reload, and you should see a banner at the top that reads “New theme activated.” Afterward, your webbook and any newly exported files will be produced with the new theme you’ve chosen.
You may change your theme at any time.
Searching for Themes: You can use the Search function at the top of the Themes page to find themes that match the terms you’d use to describe your genre. For example, try searching “academic” to see all the themes that were designed with academic texts in mind.
Themes are tagged with one or more of the following searchable attributes:
- Academic
- Literary
- Nonfiction
- Textbook
- Genre fiction
The “genre fiction” tag would include designs that work well for romance novels, thrillers, mysteries, fantasy, or science fiction. Many themes are well suited to both fiction and nonfiction.
Theme Options
While every theme is equipped with sensible defaults, you can customize the way that your book looks on any theme with additional Theme Options. To access the Theme Options settings, go to Appearance > Theme Options from the left sidebar menu of your book’s dashboard (see the screen above).
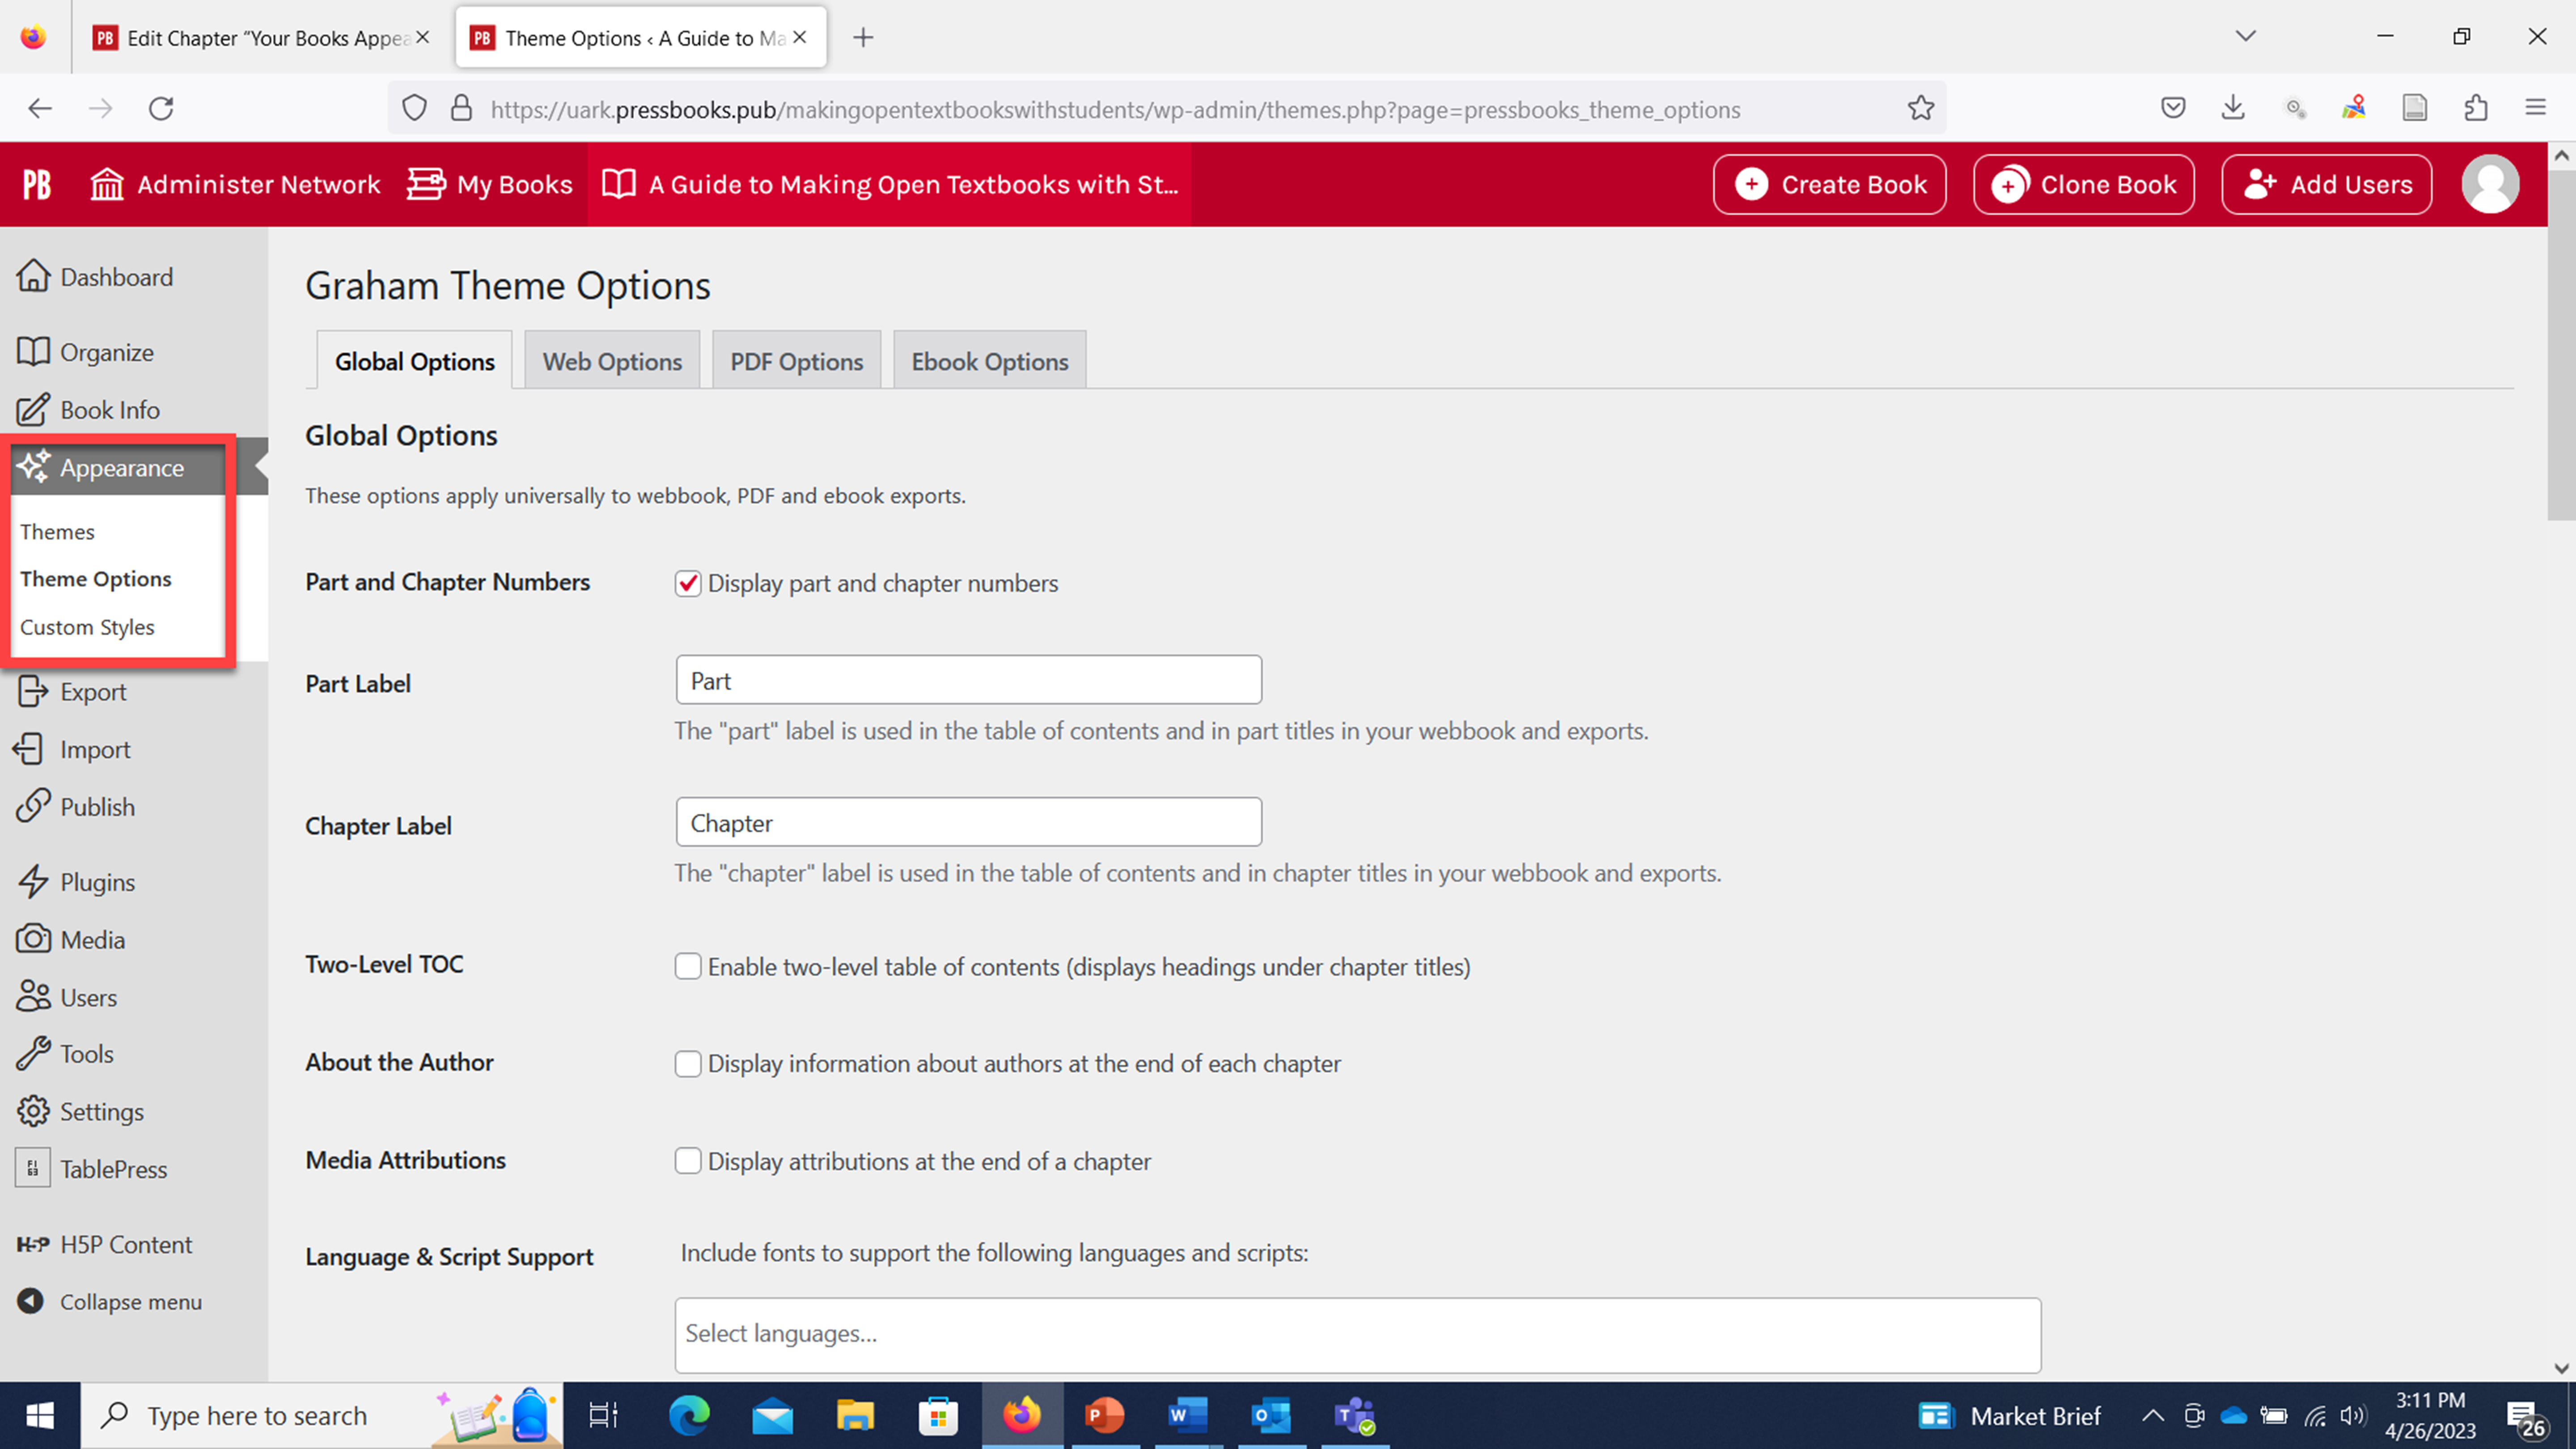
Theme Options are split into four sections:
- Global Options
- Web Options
- PDF Options
- Ebook Options
Global Options apply to all formats. Web, PDF, and Ebook options apply only to the format for which you’re changing the setting. Read on for more details on the theme options that are provided through Global and Web Options.
Global Options
Global Theme Options are settings that will affect the display of all book formats, including your webbook, ebook, and PDF. Below are the settings currently available as Global Theme Options on updated themes.
Part and Chapter Numbers: Enable or disable the display of part and chapter numbers in all formats. Enabling this setting serves as an alternative to choosing Chapter Type “Numberless” for every chapter.
Part and Chapter Labels: Choose a custom section label for the parts and chapters of your book. For example, call parts “Units” and chapters “Sections.” These sections will still be referred to as Parts and Chapters in the back end of Pressbooks, but in your book they will display as “Units” and “Sections.”
Two-Level TOC: Add a second level to your table of contents by enabling the two-level TOC setting. With this setting on, all headings tagged with the Heading 1 paragraph style will be added as subsections to a chapter on the table of contents.
Media Attributions: Display media attributions at the end of any chapter that contains media with attribution metadata included.
Language & Script Support: Add a new language script to your book to make sure the fonts display correctly in all formats.
Chapter Licenses: Choose whether to display chapter licenses on the table of contents, at the end of a chapter, or not at all. Note that this will only affect export formats, and only if the book contains chapters with separate licenses than the overall book license.
Education-themed Textboxes: Customize the header color, header background color, and textbox background color for education-themed textboxes, including Examples, Key Takeaways, Learning Objectives, and Exercises.
Web Options
Web Options are settings that will only affect the display of your webbook. Below are the current Web Options available on updated themes.
Header Font: Change the theme’s default header font to one from an available list of open-source typefaces. Both serif and sans serif fonts are available.
Body Font: Change the theme’s default body font to one from an available list of open-source typefaces. Both serif and sans serif fonts are available.
Enable Social Media: Add social media icons to your webbook’s homepage and each chapter so that readers can share links to your book through Facebook and Twitter.
Webbook Width: Choose how much space the content of your book will fill on a normal computer screen. Options include Narrow, Standard, and Wide.
Paragraph Separation: Decide whether paragraphs in the webbook are indented or separated by skipped lines. Webbooks default to the “skip lines” paragraph separation setting for optimal digital reading, but can be changed.
Display Part Title: Add the Part Title to the Chapter Title at the top of each chapter.
Collapse Sections: Create collapsed sections in individual webbook chapters to make long chapters easier to navigate. Any heading tagged with a Heading 1 paragraph style will become a collapsible subsection.
Enable Image Lightbox: Allow readers to view linked images more easily by turning on the Lightbox feature. Read more here.
Custom Styles
For any customizations that you’d like to make that are not currently available as Theme Options, you may want to consider creating your own Custom Styles. Custom Styles are any CSS (Cascading Style Sheet) changes that you add to the base theme of your book. You can view and edit the CSS for your book by going to Appearance > Custom Styles from the left sidebar menu of your book’s dashboard.
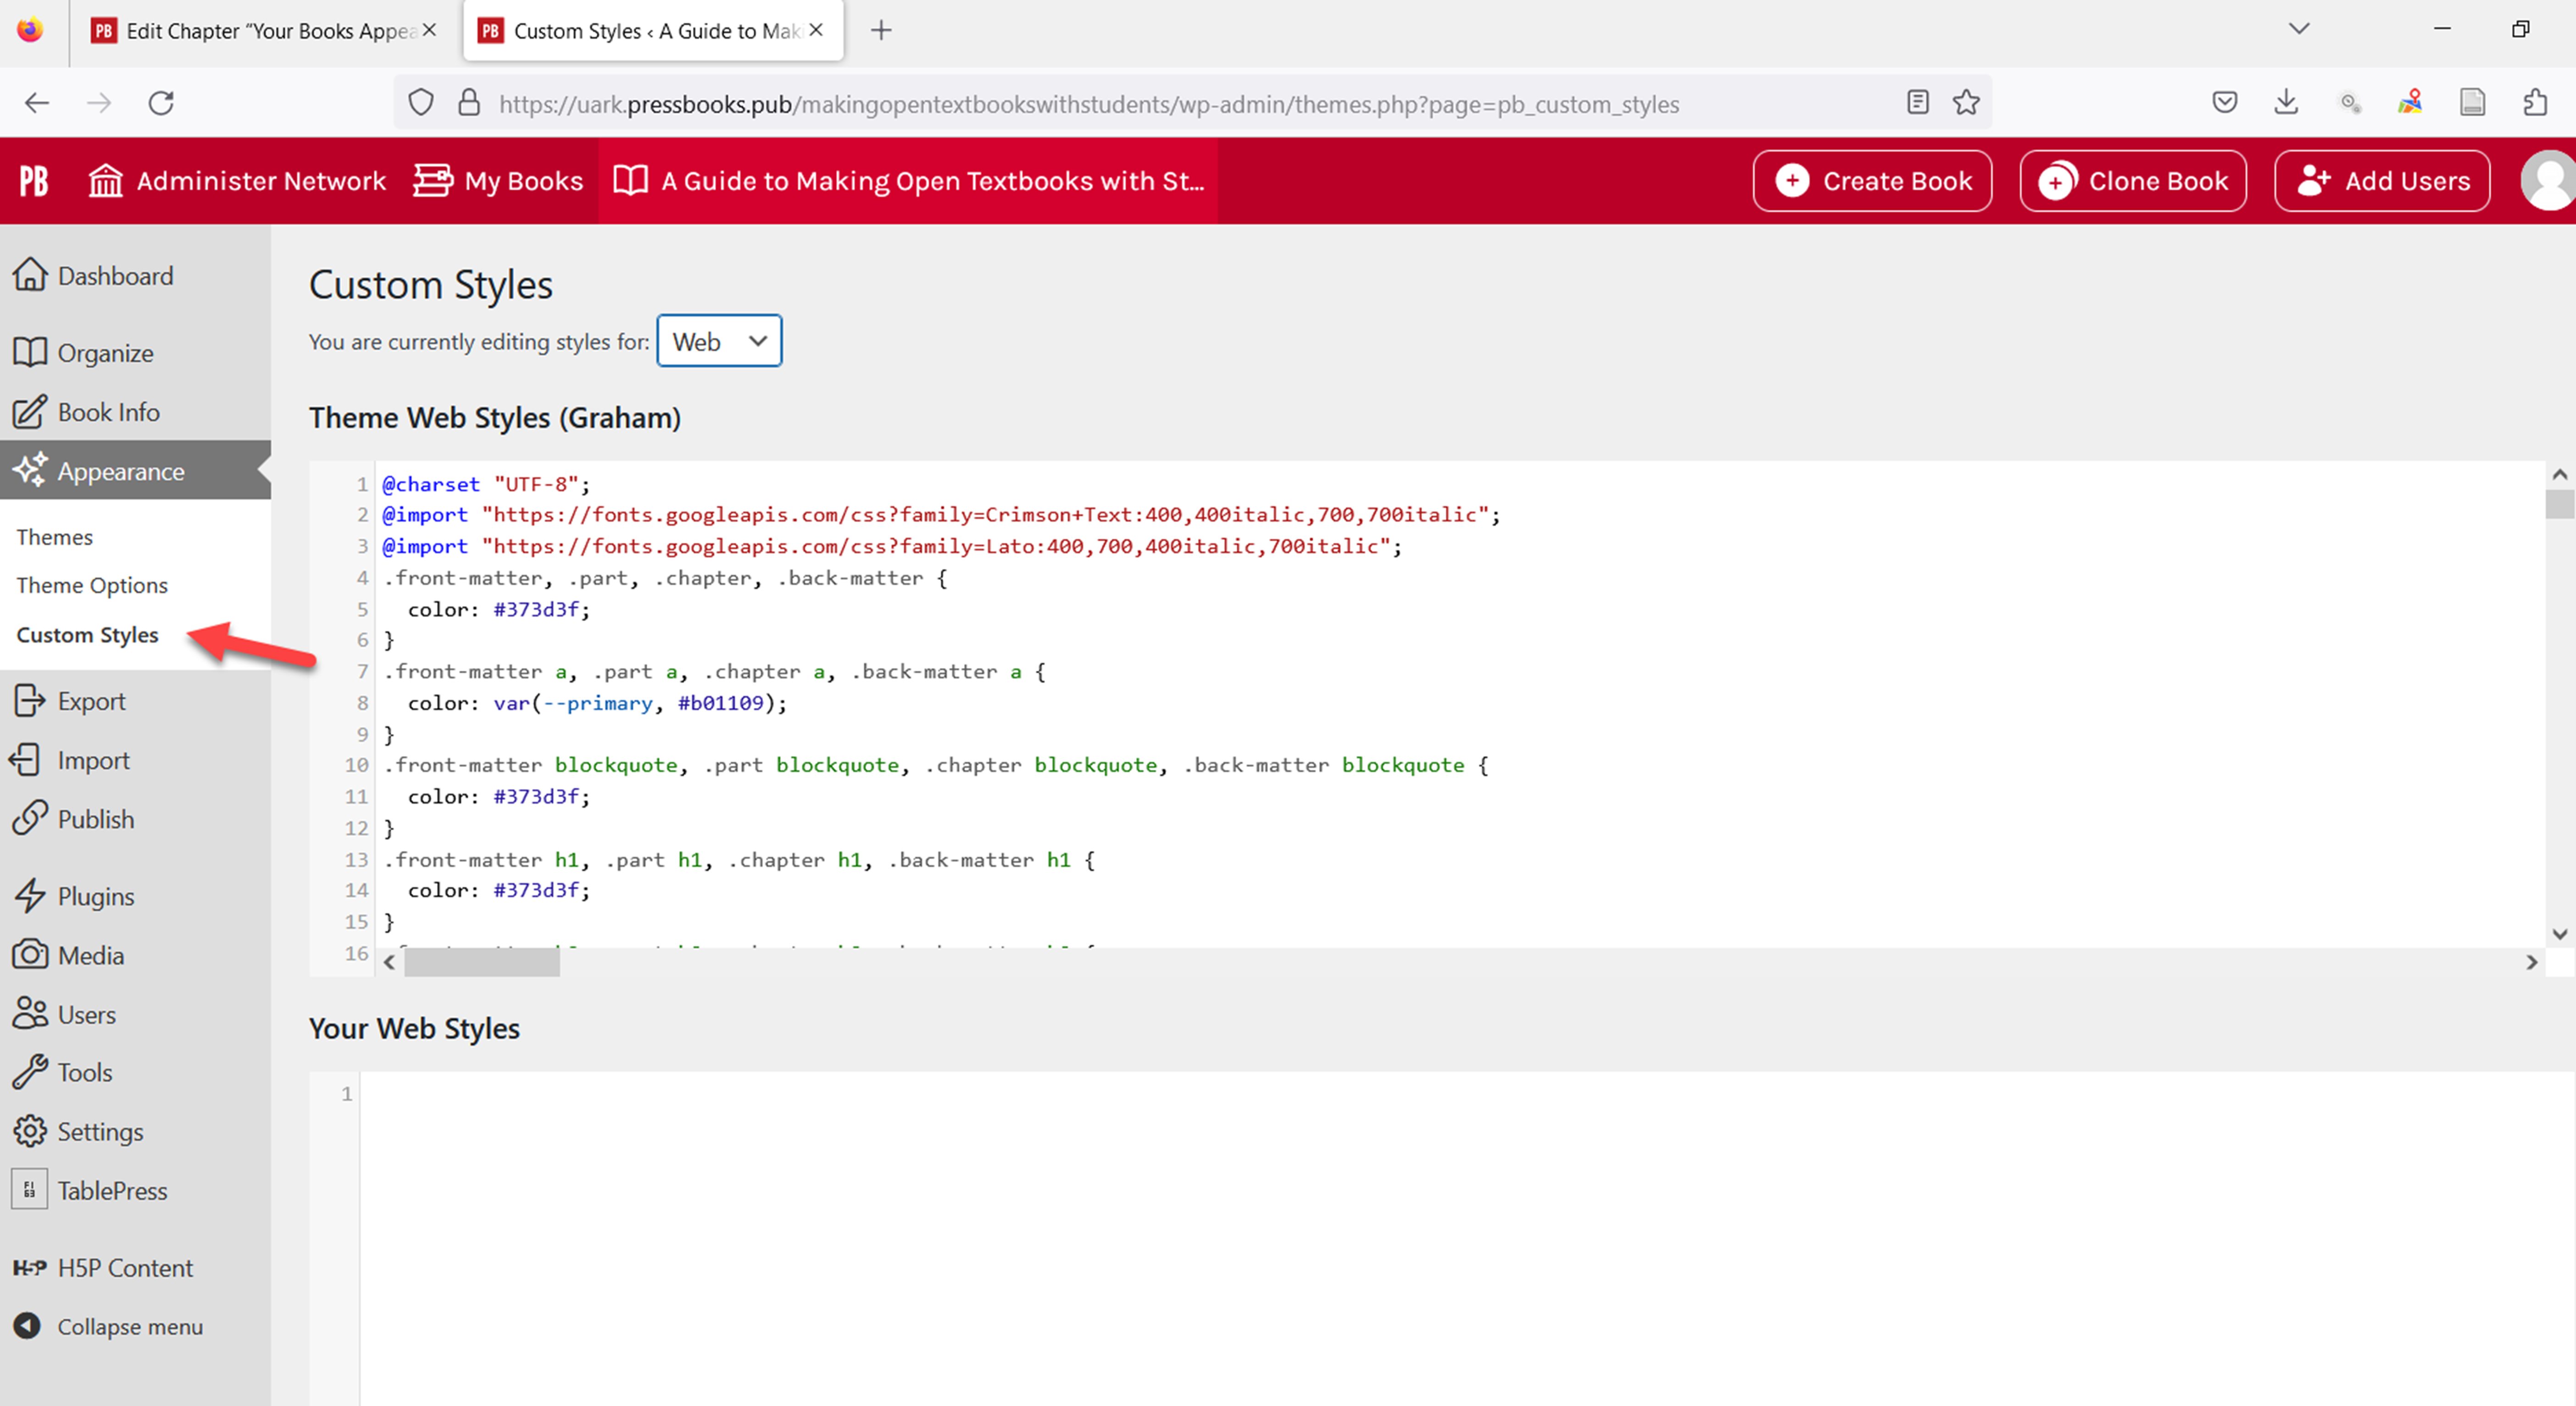
The stylesheets for your book are broken into three sections for each of the three supported book formats you can create on Pressbooks. We will discuss the Web options.
Select the stylesheet that you would like to view from the dropdown menu at the top of the page.
The first section of the page will include a scrolling box that contains the entire stylesheet for a given format. The contents of the stylesheet are dependent on the theme you’ve chosen.
The second section is where you can make any edits to the stylesheet. Any CSS added in this section will override existing styles for the same class.
The editor also keeps the last 10 revisions of each stylesheet for your book, so if you make a mistake you can restore an earlier version by clicking the hyperlinked time stamp in the Revisions section.
We recommend using the dropdown menu while navigating between the style sheets. If you are unable to navigate back to a style sheet, simply click on Appearance > Custom Styles on the left sidebar menu of your book’s dashboard to reload the Custom Styles page. Please note that you will not be prompted if you leave the styles page while there are unsaved changes, so always make sure to save often.
What Changes are Possible
To see what kinds of things you can customize, you can look through the theme stylesheet in the “Theme Styles” section. This allows you to find the styles for various elements in your book, then copy the corresponding section into “Your Styles” to edit. Anything you enter will override the original theme styles for that element.
Advanced Users
Even if you’re fluent in CSS, remember that each of the formats Pressbooks produces operates slightly differently, so what you may be used to using for a web page won’t necessarily translate to a PDF or ebook. However, the themes still follow a (semi!) logical pattern, so with some practice you can become a pro! While you’re figuring things out, use the XHTML export to help you isolate particular classes and elements.
Keyboard Commands for CSS
Users who frequently edit their books’ style sheets with custom styles may benefit from knowing a few keyboard shortcuts that can be used to navigate the CSS
Pressbooks’ custom styles editor uses CodeMirror keyboard commands. You can use the following keyboard commands on any of the three style sheets for your book.
| For PC | For Mac | |
| Start searching | CTRL F | Cmd F |
| Find next | CTRL G | CMD G |
| Find previous | Shift CTRL G | Shift CMD G |
| Replace | Shift CTRL F | CMD Option F |
| Replace all | Shift CTRL R | Shift CMD Option F |
| Persistent search* | Alt F | Alt F |
| Jump to line | Alt G | Alt G |
*In persistent search mode, search dialog does not close automatically. Use “Enter” to find the next term, and Shift Enter to find the previous term
In Pressbooks, the theme of your book includes styling rules for all of the elements of your book, including chapter title designs, fonts for heading and body text, the appearance of textboxes, block quotes, lists, tables, and export-specific elements like title page layout, copyright page layout and running content.

Feedback/Errata